
70 Cart & Checkout UX Articles
These articles are based on observations and test findings from our usability research on cart and checkout.
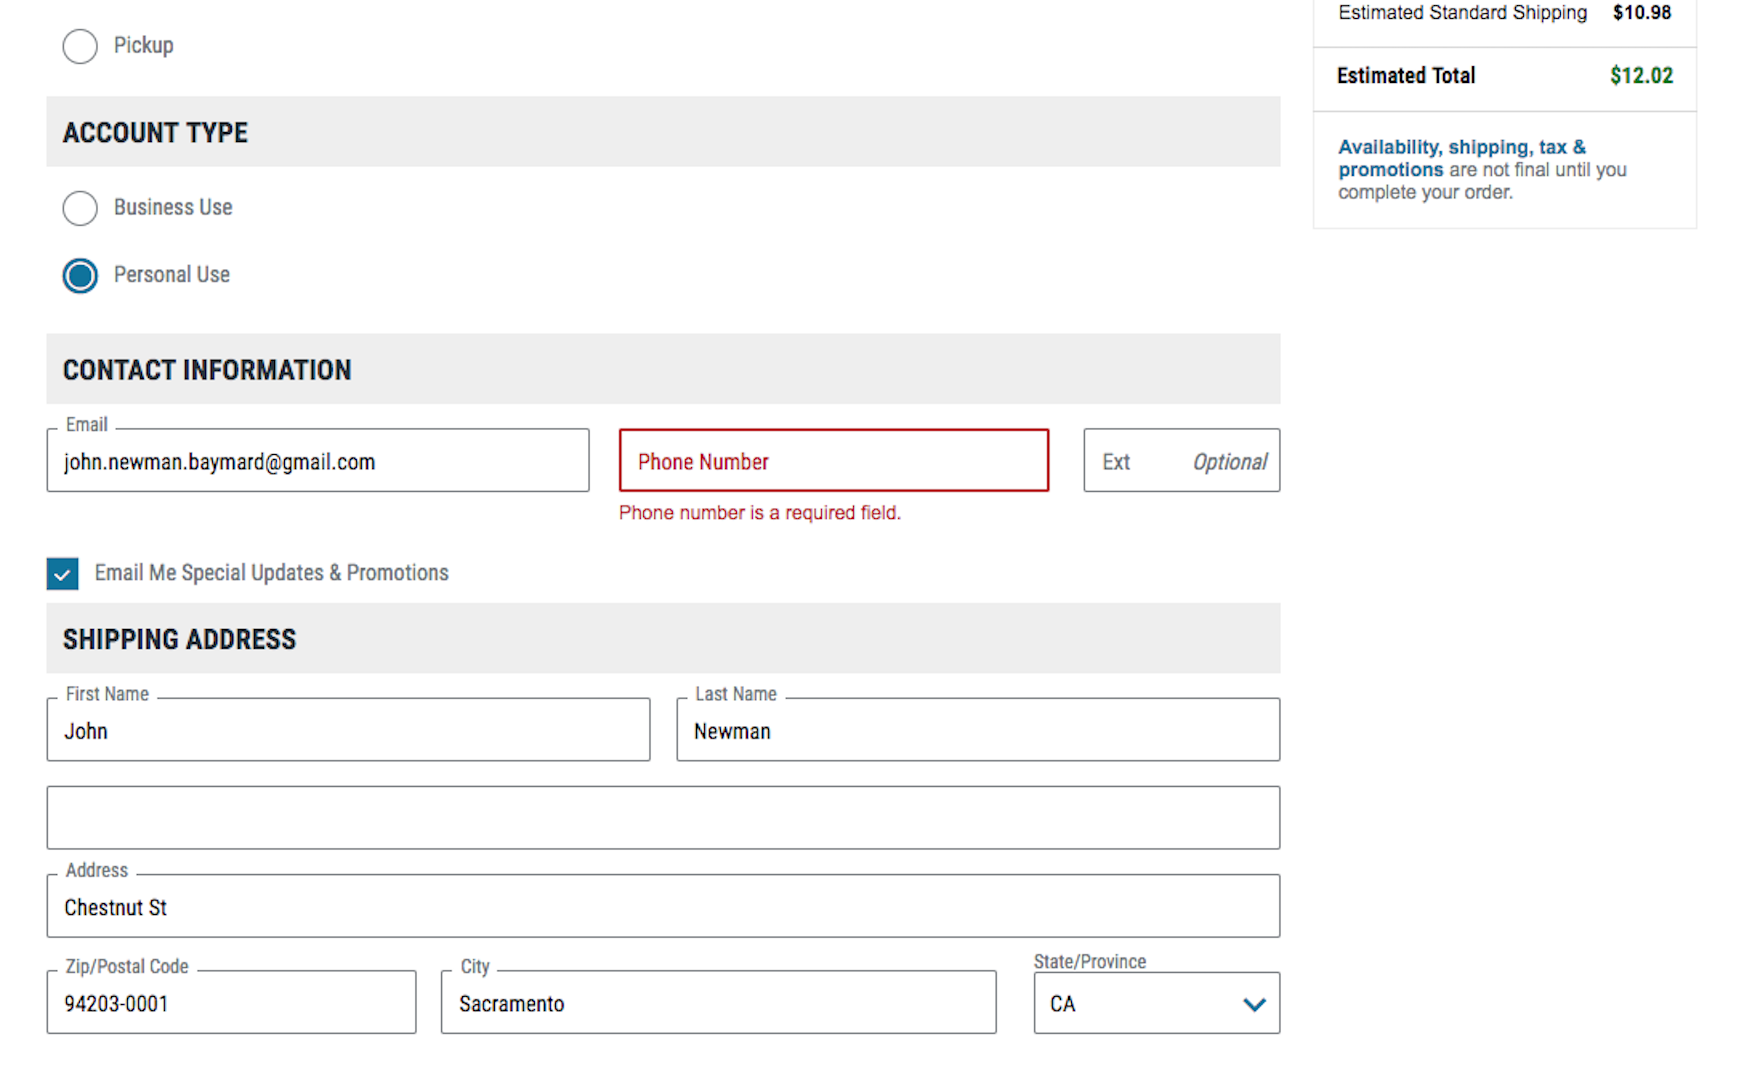
Phone Number UX: Always Explain Why the “Phone Field” Is Required (39% Don’t)
14% of users will abandon checkout if “phone” is simply required. Testing shows users just need an explanation of why the phone field is required — yet 39% of ecommerce sites don’t.
Featured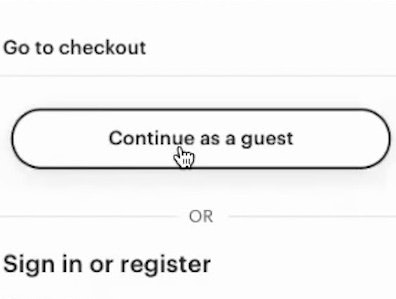
Checkout UX 2025: 10 Pitfalls and Best Practices
November 25, 2025 (Updated)Popular
Ecommerce Gifting UX: 4 Ways to Provide a Superior Gifting UI and Flow
November 20, 2025 (Updated)Popular
10 Cyber Monday UX Best Practices
September 16, 2025 (Updated)Popular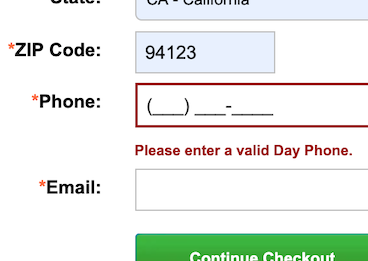
Phone Number UX: Always Explain Why the “Phone Field” Is Required (39% Don’t)
July 29, 2025 (Updated)Popular
4 “Online Grocery” Ecommerce UX Best Practices
July 15, 2025 (Updated)Popular

The ‘Credit Card Number’ Field Must Allow and Auto-Format Spaces (80% Don’t)
15% of sites don’t actively aid users in typing their 16-digit card number by autoformatting it with spaces. Learn why it's so important.
Featured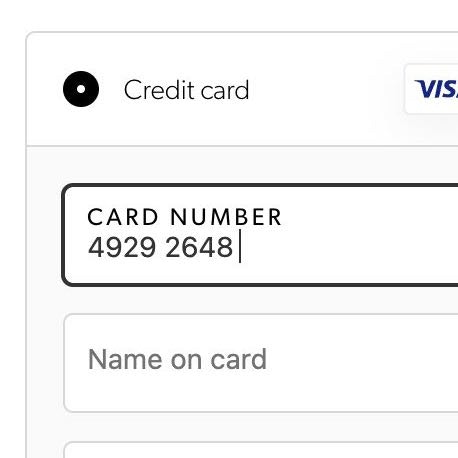
The ‘Credit Card Number’ Field Must Allow and Auto-Format Spaces (80% Don’t)
June 5, 2025 (Updated)Popular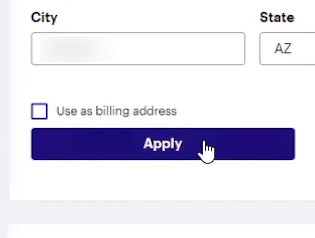
Checkout UX: Avoid “Apply” Buttons for Most Fields (22% of Sites Don’t)
May 14, 2025 (Updated)Popular
4 Ways to Improve UX for Ecommerce Mass Merchant Sites
April 29, 2025
5 Best Practices for Communicating Sustainability in Ecommerce
April 22, 2025 Popular
4 Ways to Improve the Post-Checkout UX
March 25, 2025
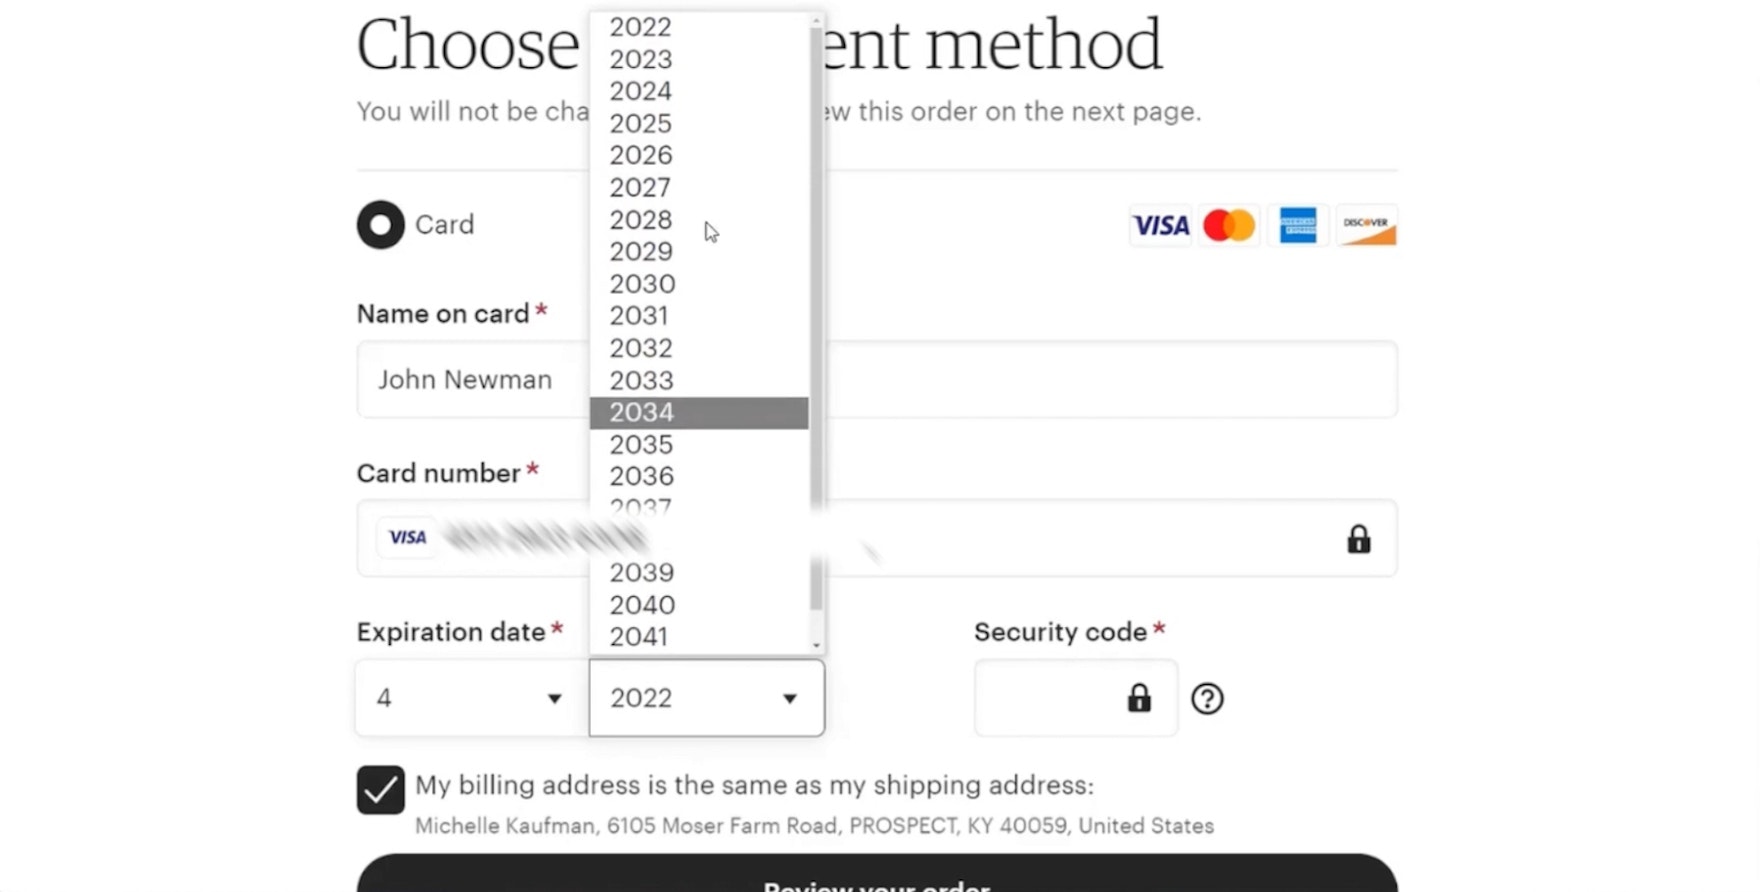
Format the “Expiration Date” Fields Exactly the Same as the Physical Credit Card (72% Don’t)
Our UX testing found that difficulty inputting their credit card expiration date needlessly delayed users from placing orders — yet 72% of sites fail at this. See our latest Checkout findings.
Featured
Desktop UX Trends: 10 Common Pitfalls & Best Practices
March 6, 2025 Popular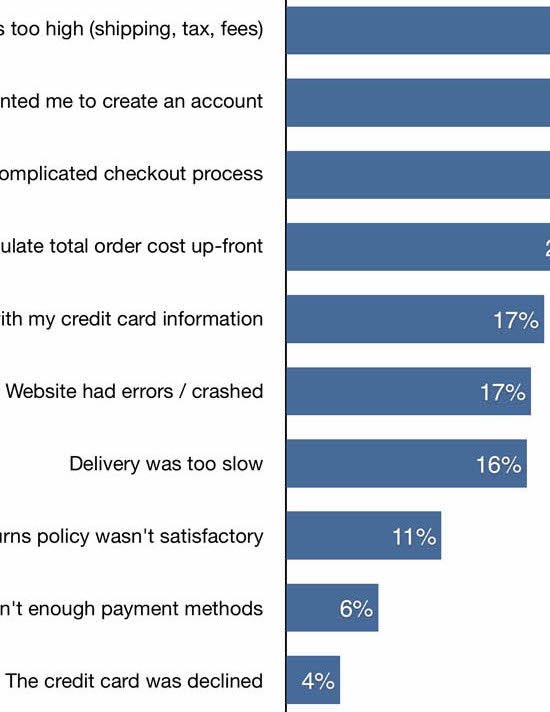
Reasons for Cart Abandonment – Why 70% of Users Abandon Their Cart (2025 data)
February 2, 2025 (Updated)Popular
Drop-Down Usability: When You Should (and Shouldn’t) Use Them
January 28, 2025 (Updated)Popular
Checkout Optimization: 5 Ways to Minimize Form Fields in Checkout
June 26, 2024 Popular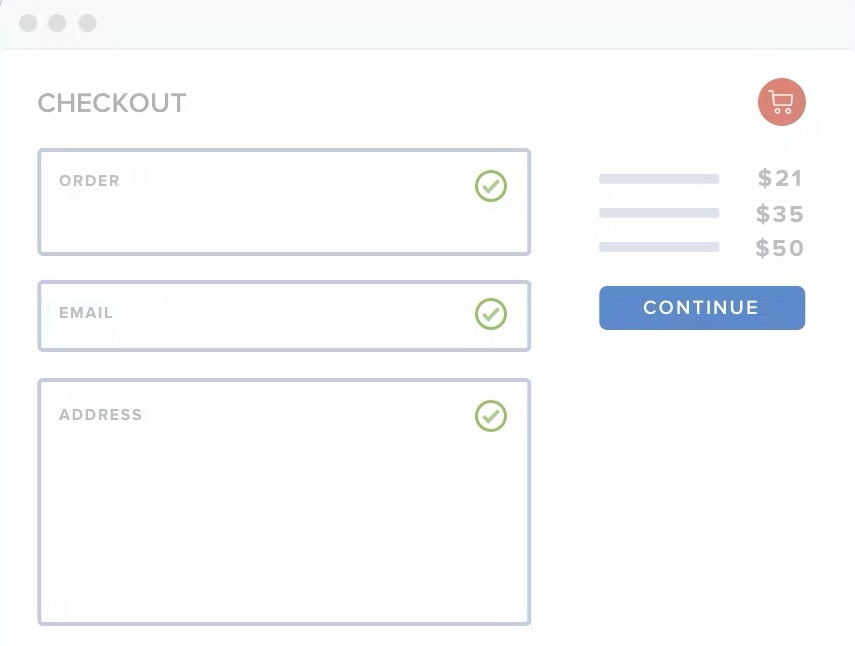
2024 E-Commerce Checkout: Expanded and Updated Checkout Research Findings
March 13, 2024
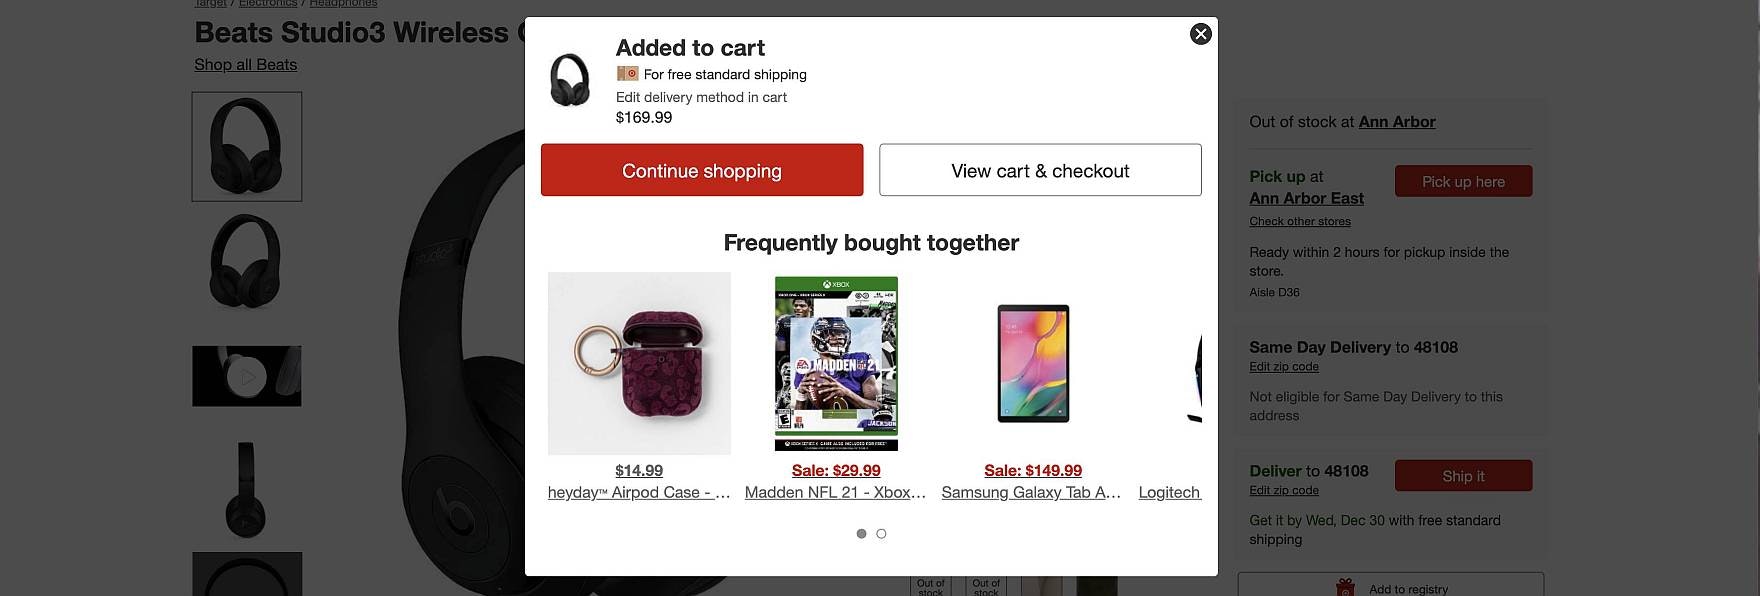
6 Ways to Improve the Relevance of Cross-Sells in the Cart (52% of Desktop Sites Don’t Do Enough)
Our large-scale usability testing reveals that product recommendations and offers that appear unrelated to the user’s cart contents erode confidence in the site and its recommendations — even relevant ones.
Featured
Retain Data in Sensitive Credit Card Fields after Validation Errors (34% Don’t)
February 6, 2024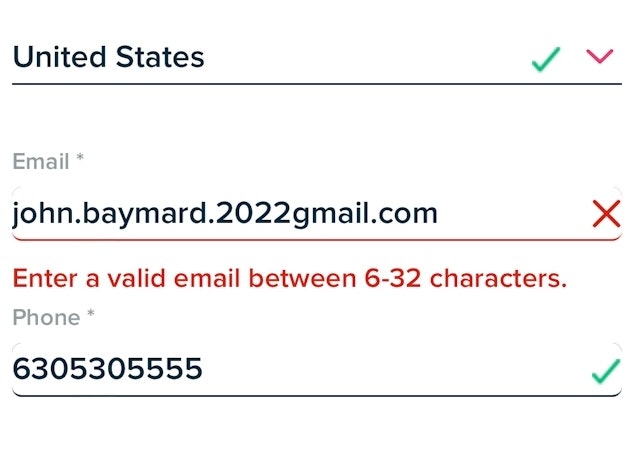
Usability Testing of Inline Form Validation: 31% Don’t Have It, 4% Get It Wrong
January 9, 2024 Popular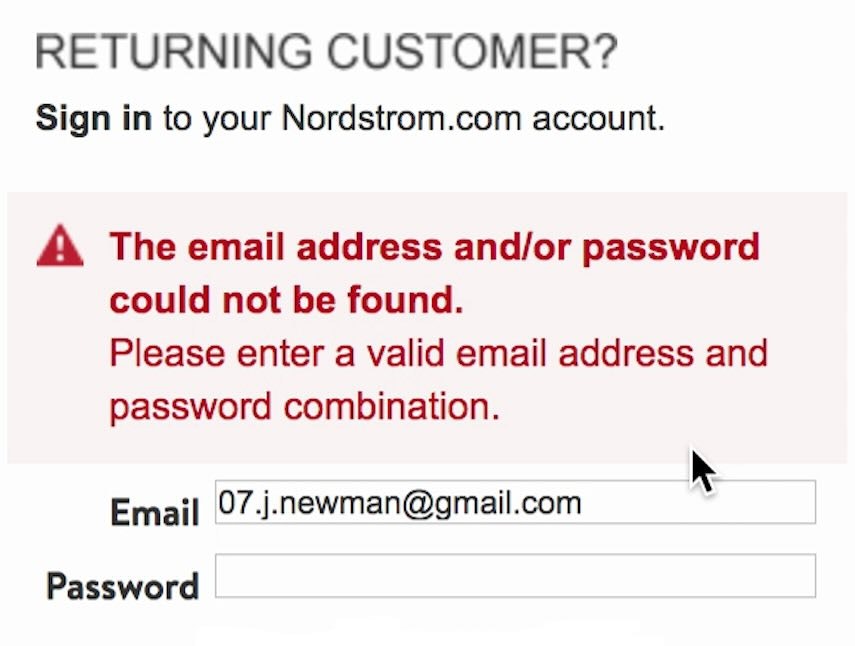
Improve Validation Errors with Adaptive Messages (98% Don’t)
December 14, 2023 Popular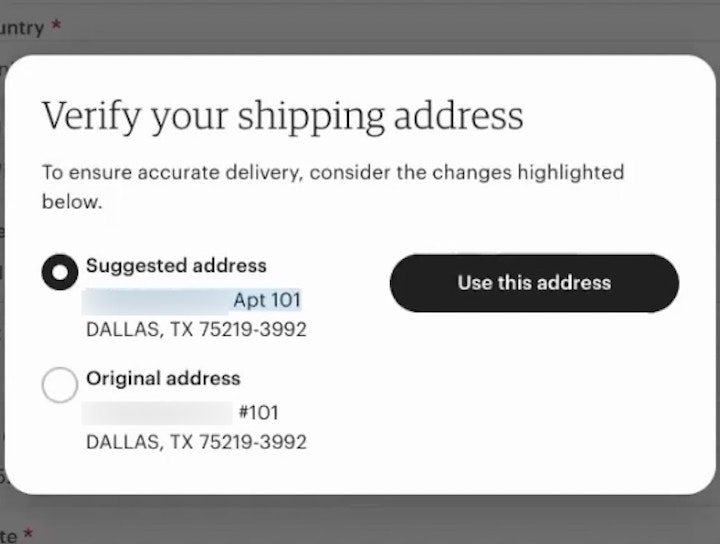
Have an Address Validator (47% Don’t)
November 28, 2023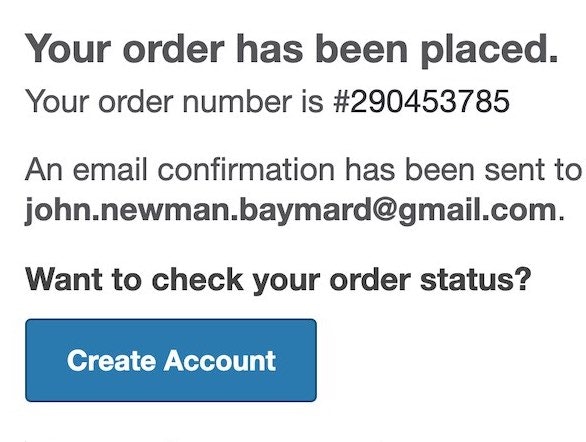
6 Ways to Get More Out of Your Order Confirmation Page
November 8, 2023 Popular

Checkout Optimization: 5 Ways to Minimize Form Fields in Checkout
Checkout optimization: the average number of form fields in checkout is 11.3 — and 22% of users have abandoned due to checkout complexity. See how to reduce form fields to optimize checkout.
Featured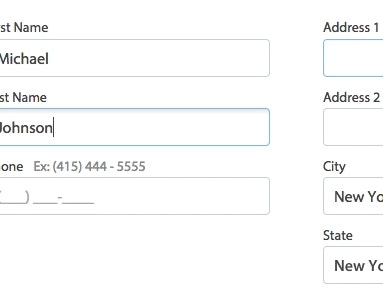
Form Field Usability: Avoid Extensive Multicolumn Layouts (16% Make This Form Usability Mistake)
October 31, 2023 Popular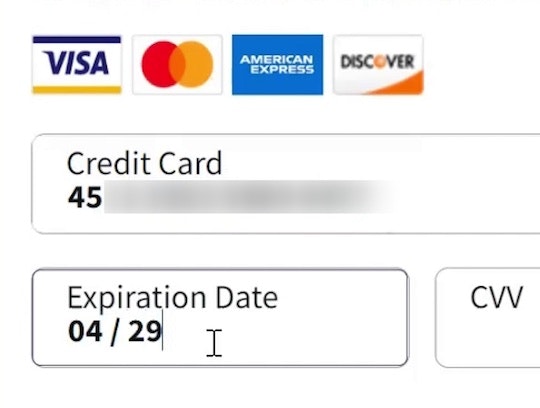
Format the “Expiration Date” Fields Exactly the Same as the Physical Credit Card (72% Don’t)
October 3, 2023 Popular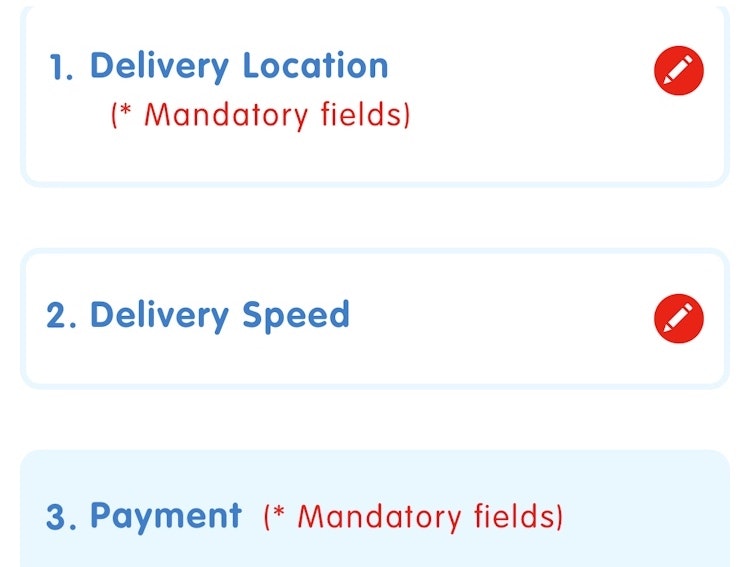
Always Collapse Completed Accordion Checkout Steps into Summaries
September 27, 2023 Popular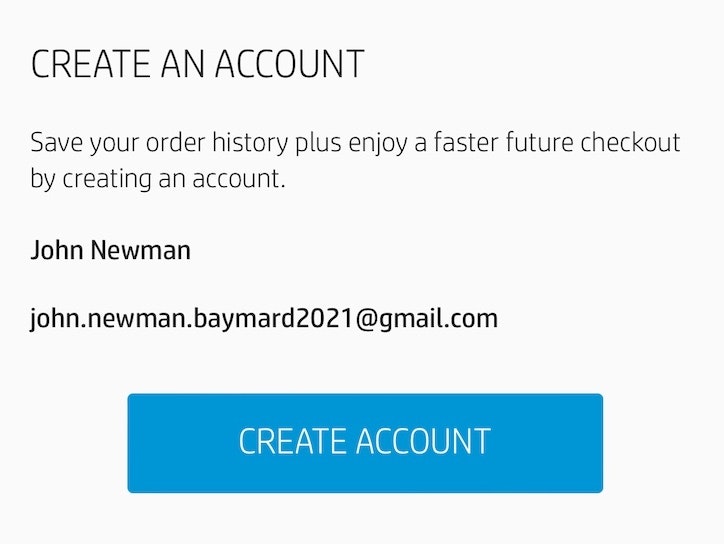
Save Account Creation for the Confirmation Step (42% Don’t)
September 19, 2023 Popular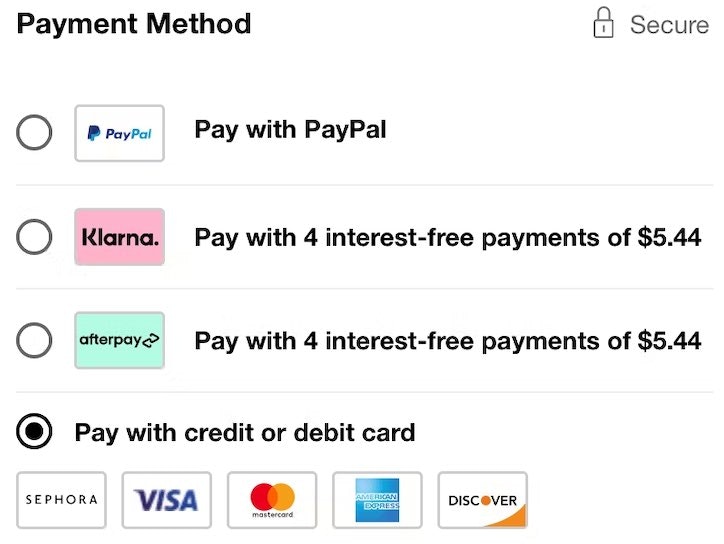
Payment Method UX: Designing Payment Selection
September 5, 2023 Popular
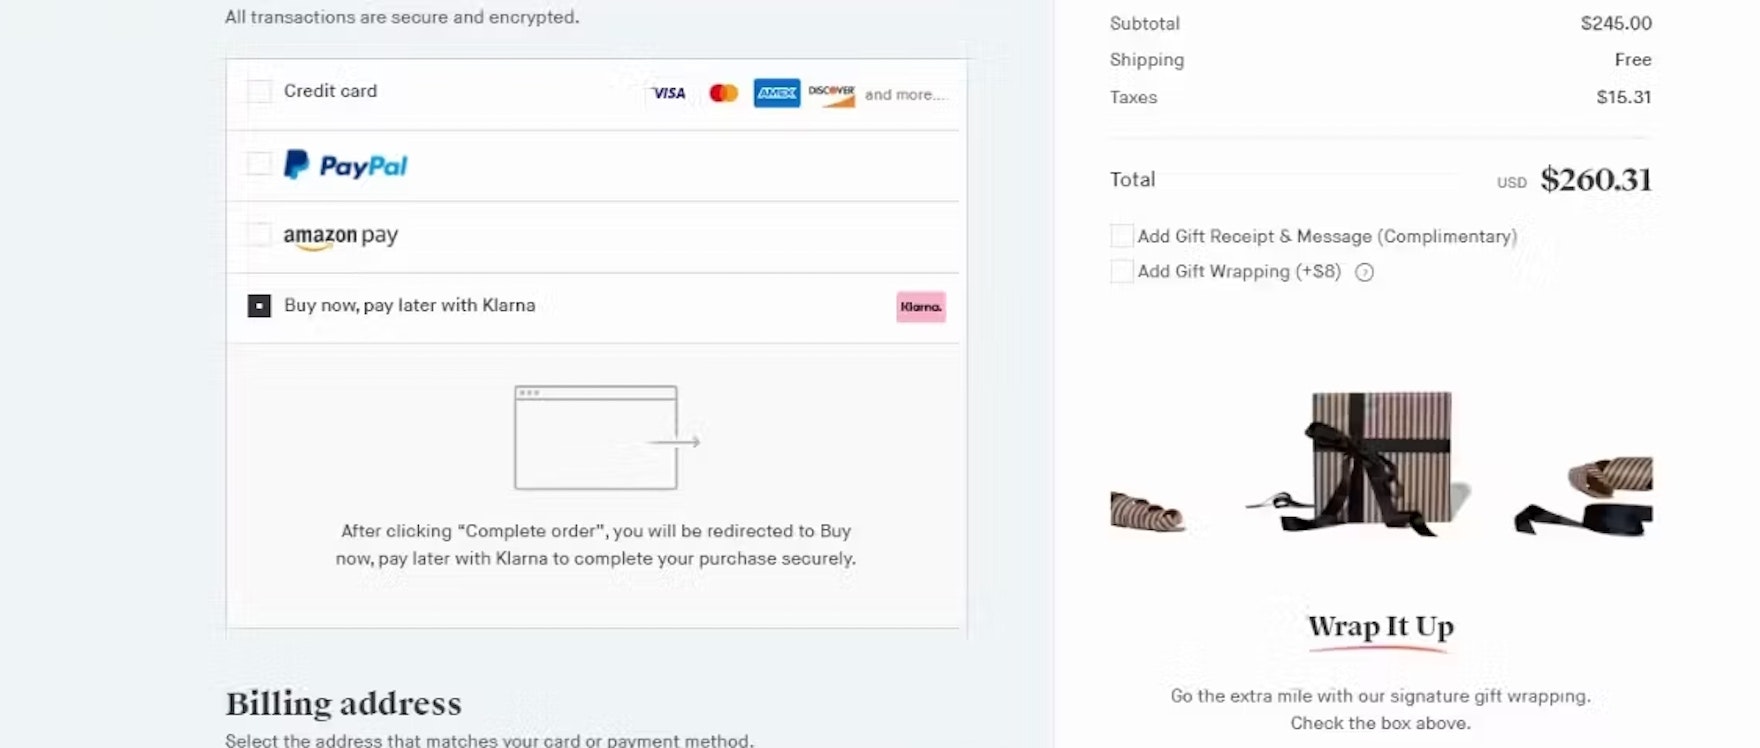
Payment Method UX: Designing Payment Selection
A subgroup of users relies on third-party payment options to complete their checkout — yet 21% of sites only accept 1 method. See our latest test findings on payment method UX.
Featured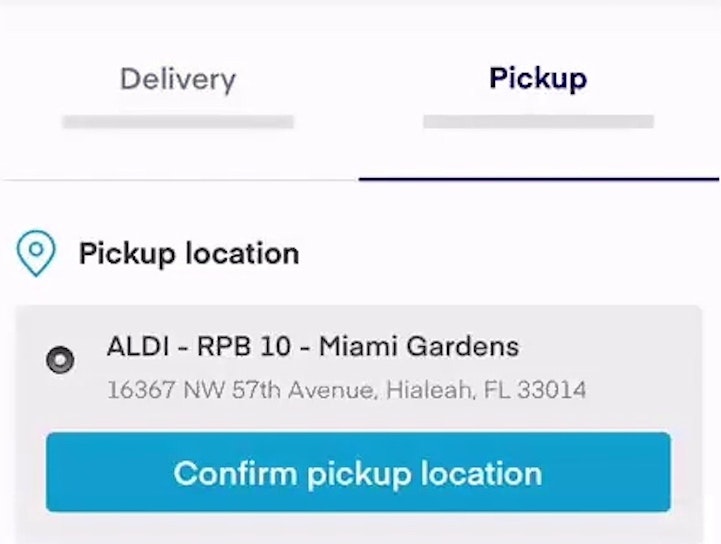
Include All Order-Fulfillment Options in the Fulfillment-Selector Interface (50% Don’t)
July 6, 2023
Use “Delivery Date” Not “Shipping Speed” (41% Don’t) — From UX Research to Implementation Roadmap
June 27, 2023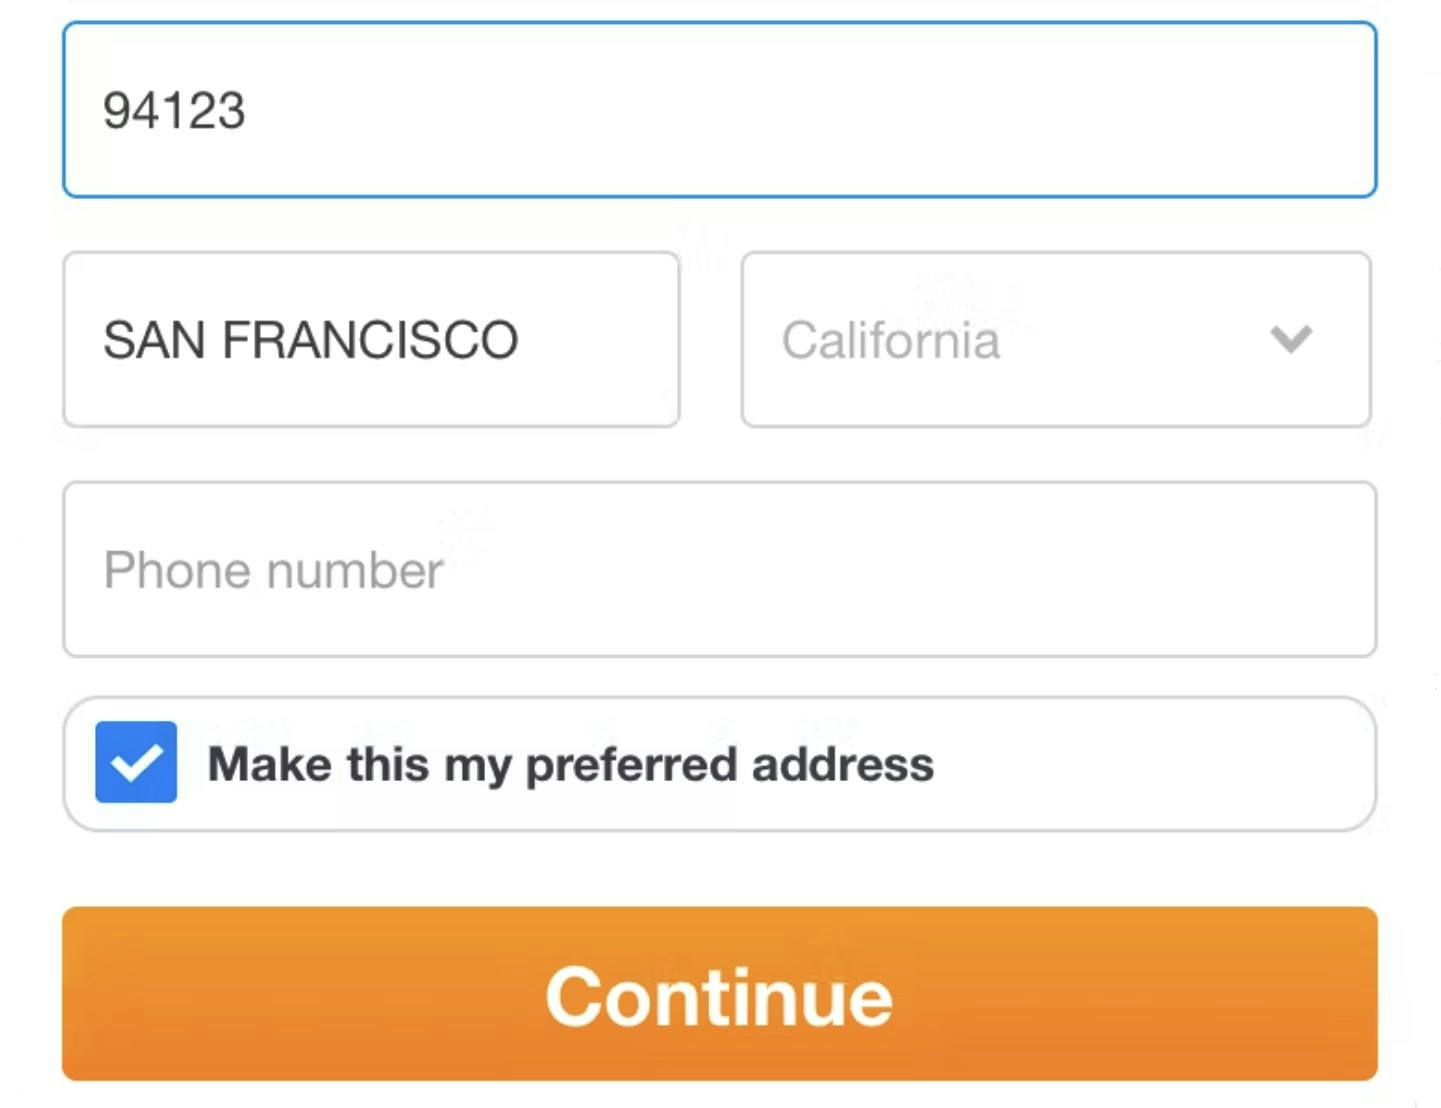
Checkout Usability: Autodetect “City” and “State” Inputs Based on the User’s Postal Code (28% of Mobile Sites Don’t)
April 11, 2023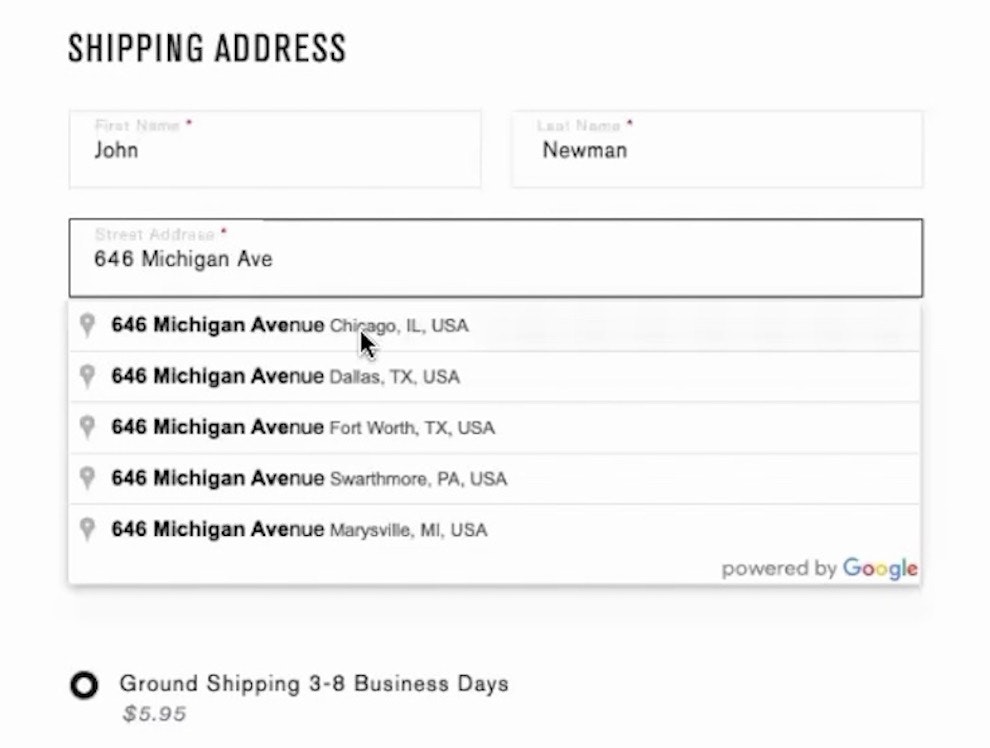
Provide a “Fully Automatic Address Lookup” Feature (55% Don’t)
March 24, 2023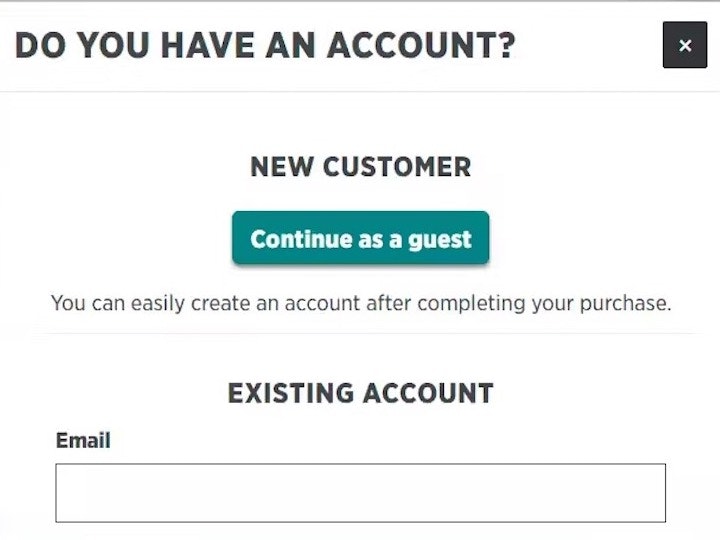
Make “Guest Checkout” the Most Prominent Option (47% Don’t)
January 17, 2023

Checkout UX 2025: 10 Pitfalls and Best Practices
In Baymard's latest benchmark of 180+ leading ecommerce sites, 64% performed "mediocre" or worse in Checkout UX. Here are 10 common Checkout UX pitfalls and strategies for improving Checkout UX.
Featured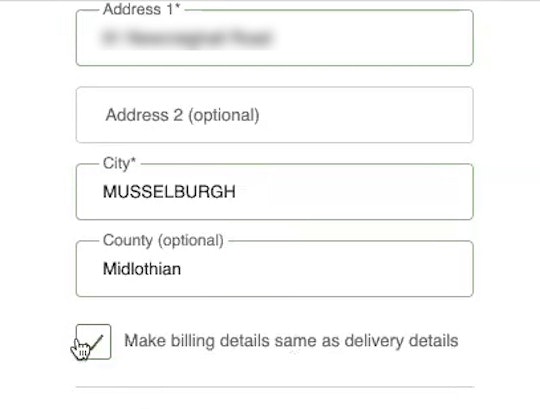
Use “Shipping Address” as “Billing Address” by Default (16% of Mobile Sites Have Implementation Issues)
January 10, 2023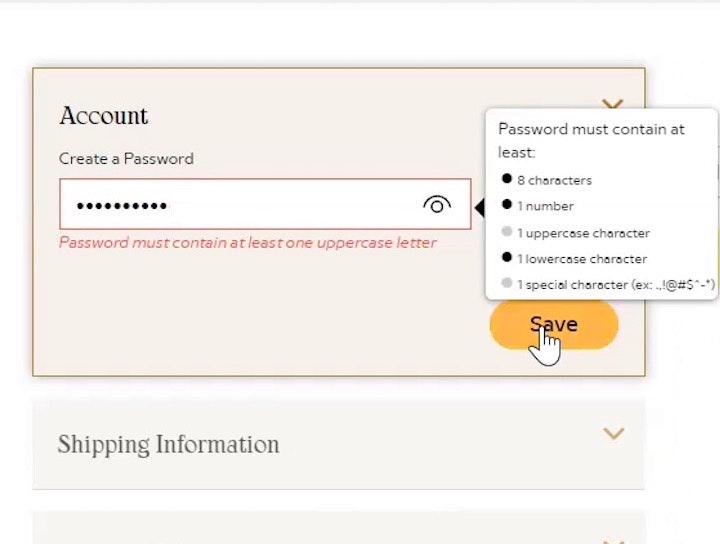
Avoid Unnecessarily Complex Password-Creation Requirements (82% Don’t)
November 29, 2022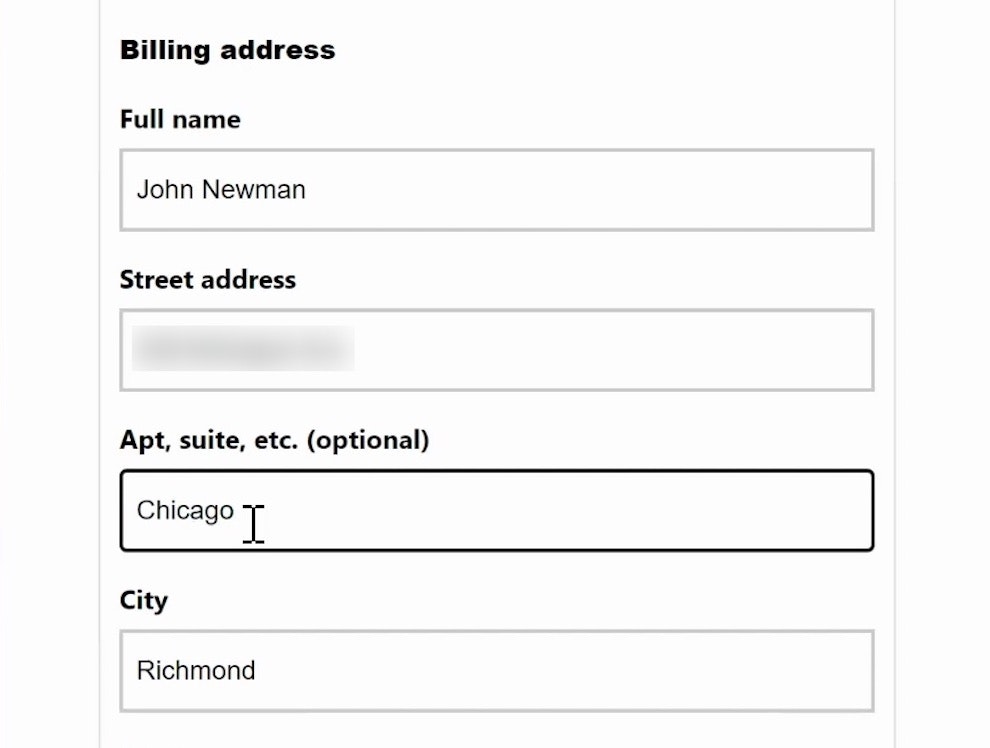
Form Usability: Getting ‘Address Line 2’ Right
October 4, 2022 Popular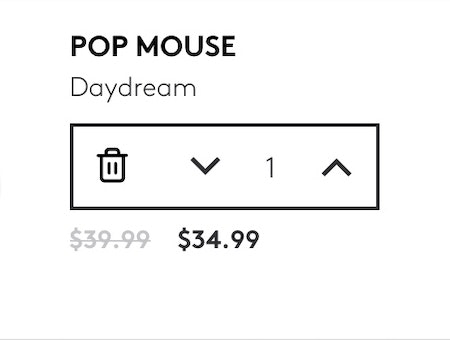
Use Buttons or Buttons Plus an Open Text Field for Updating Cart Quantity (61% Don’t)
September 20, 2022
250+ New Examples Added from Large-Scale Testing on European Sites
November 9, 2021
Baymard Update: 13 New Case Studies and 3 New 2021 Benchmarks (Checkout, Product Page, and On-Site Search UX)
October 12, 2021
6 Ways to Improve the Relevance of Cross-Sells in the Cart (52% of Desktop Sites Don’t Do Enough)
January 12, 2021
4 Design Patterns That Violate “Back” Button UX Expectations – 59% of Sites Get It Wrong
July 20, 2020 Popular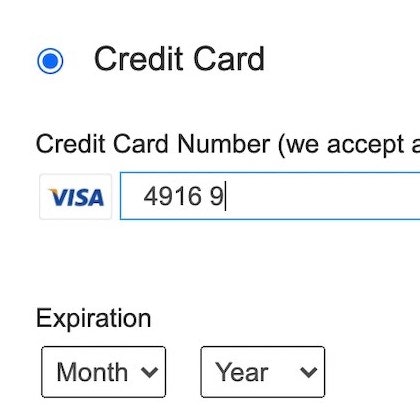
5 ‘Credit Card Form’ Implementations That Make ‘L.L. Bean’ Best-in-Class
June 30, 2020 Popular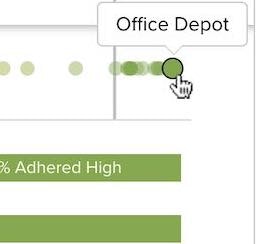
5 ‘Order Review’ UX Implementations That Make Office Depot Best-in-Class
July 15, 2019 Popular
Checkout Optimization: From 16 Form Fields to 8 Fields (keynote presentation)
June 21, 2019 Popular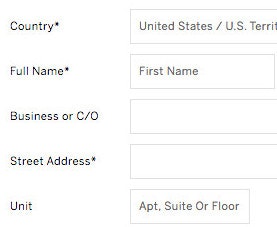
E-Commerce Checkouts Need to Mark Both Required Fields and Optional Fields Explicitly (Only 14% Do So)
October 2, 2018 Popular
CAPTCHAs Have an 8% Failure Rate, and 29% if Case Sensitive
January 18, 2018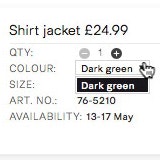
Remove Select Features When There’s Only One Option Left (14% Don’t)
December 12, 2017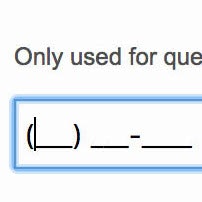
Consider Using Localized Input Masks for ‘Phone’ and Other Restricted Inputs (64% Aren’t Taking Advantage of Input Masking)
November 28, 2017 Popular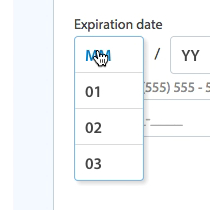
5 Common Usability Pitfalls of Custom Designed Drop-Downs (31% Have Drop-Down UI Issues)
November 14, 2017 Popular
How Users Perceive Security During the Checkout Flow (Incl. New ‘Trust Seal’ Study 2023)
October 5, 2016 Popular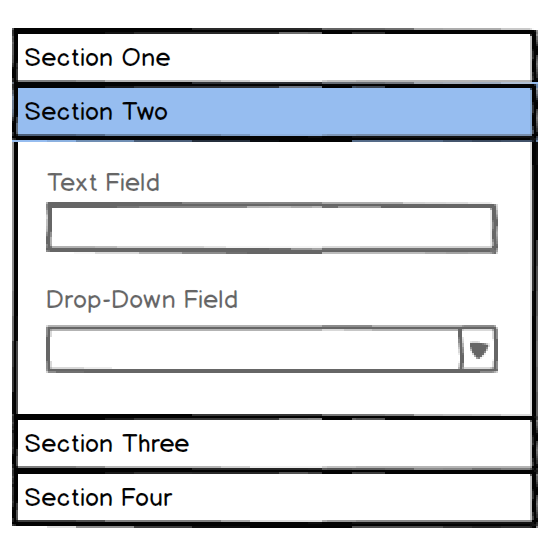
Accordion UX: The Pitfalls of Inline Accordion and Tab Designs
October 21, 2014
Fixing Bugs – the Next ‘Big Thing’ in E-Commerce?
October 7, 2014
Form Usability: Validations vs Warnings
September 23, 2014
How to Recoup 30% of “Card Declined” Abandonments
August 13, 2013
Users Continue to Double-Click Online
July 25, 2013
Which Site Seal do People Trust the Most? (2013/2016 Survey Results)
January 22, 2013
A Holistic View on the Current State of Checkout Usability
November 20, 2012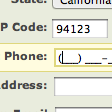
Add Descriptions To Checkout Form Labels (92% Get It Wrong)
November 6, 2012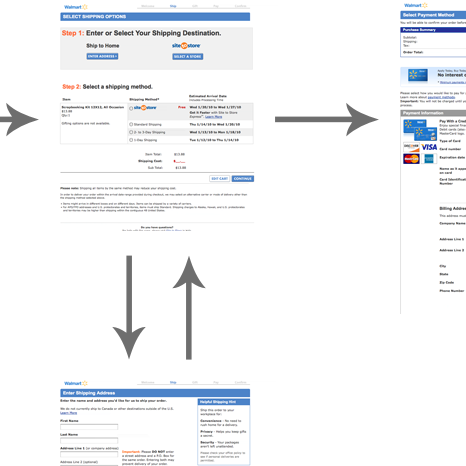
Why Your Checkout Process Should Be Completely Linear
October 3, 2012
Accordion Style Checkouts – The Holy Grail of Checkout Usability?
September 18, 2012 Popular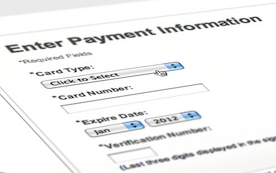
Visually Reinforce Your Credit Card Fields (89% Get it Wrong)
August 21, 2012 Popular
Checkout Experience: Don’t Require Seemingly Unnecessary Information (61% Get it Wrong)
July 31, 2012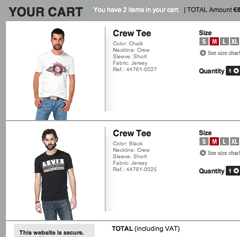
A Consistent Shopping Experience With Product Thumbnails
May 22, 2012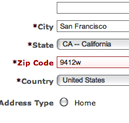
Idea: Error-Fields Only
April 10, 2012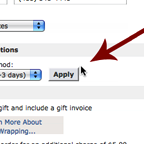
Checkout Usability: Apply Changes Immediately and Near the Input
February 22, 2012
Observation: Users Will Go Far to Avoid Repeat Form Errors
July 12, 2011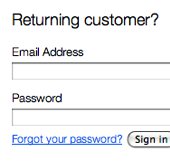
E-Commerce Copywriting: Returning Customer?
June 28, 2011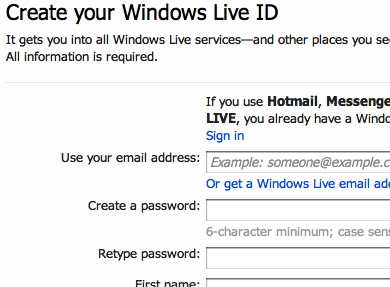
Account ‘Sign Up’: Ask to Confirm E-mail, Not Password
June 16, 2011
One Page Checkouts – the Holy Grail of Checkout Usability?
April 26, 2011 Popular
E-Commerce: Why Customers Abandon Their Shopping Cart
January 19, 2011
User Expectations: Create an Illusion of Space
January 7, 2011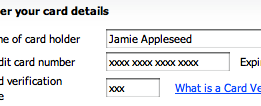
Form Field Usability: Matching User Expectations
August 31, 2010
People Think Registration Leads to “Spam”
March 25, 2010
Want to learn more about this topic?

Explore Other Research Content

334 top sites ranked by UX performance.

18,000+ annotated designs for systematic inspiration.

Code samples, demos, and key stats for usability.